Best Concrete Work In New York

Best Concrete Work In New York
When it comes to enhancing your outdoor spaces, concrete is a versatile and durable material. Whether you’re building a new driveway, walkway, or patio, proper concrete pouring and finishing techniques are essential. In this guide, we’ll walk you through the process step by step, ensuring successful results for your next project.
1. Site Preparation
Before pouring concrete, thorough site preparation is crucial. Follow these steps:
- Clear the Area: Remove grass, rocks, trees, shrubs, and any old concrete. Expose the bare earth.
- Sub Base: Compact a sub base of fill gravel unless the soil is already compact and stable.
2. Forming
Setting up forms correctly ensures a smooth concrete pour:
- Materials: Use wood forms with metal or wood stakes for residential projects.
- Form Placement: Set forms to provide the proper slope or grade for drainage. Ensure clean corners where forms meet each other or other structures.
3. Mixing Concrete
Whether you’re using bagged concrete or ready-mix, follow these guidelines:
- Bagged Concrete: Mix it with water according to package instructions.
- Ready-Mix: If delivered by a truck, the drum will keep the concrete from settling.
4. Concrete Placement
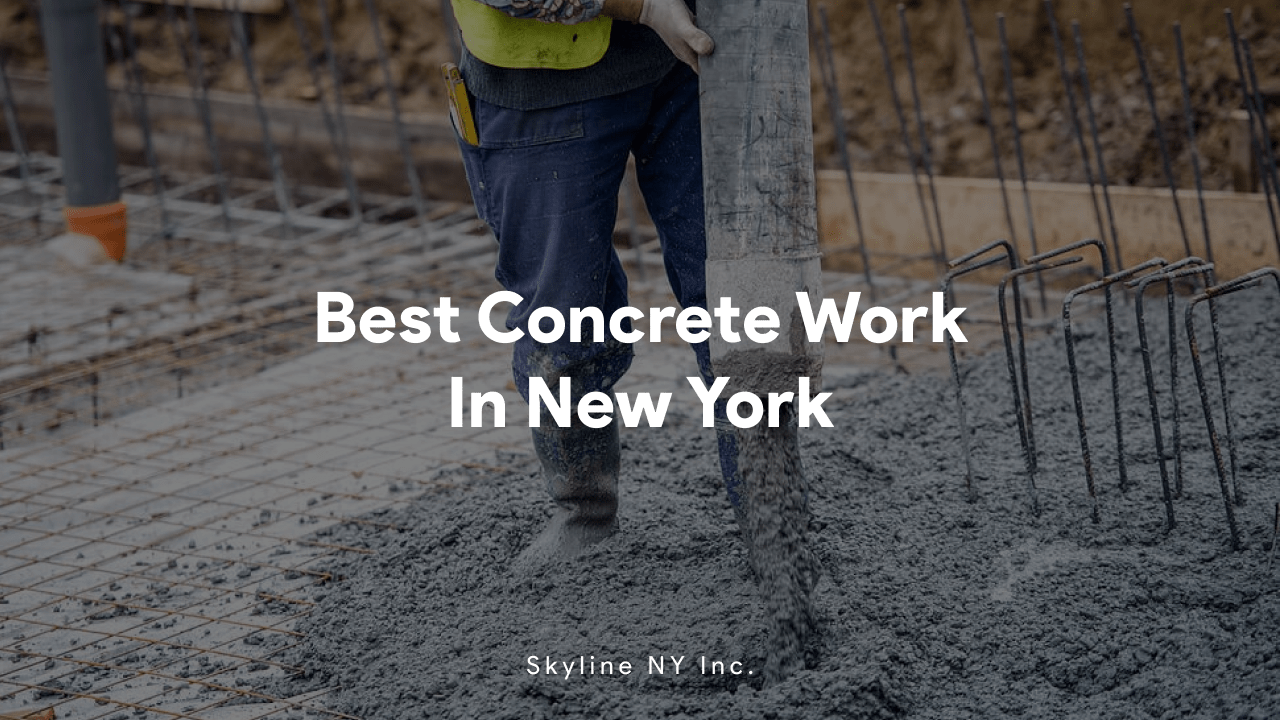
Pour wet concrete into the forms until they’re full:
- Avoid Voids: Use shovels, rakes, and a special concrete rake (“come along”) to move the concrete and eliminate voids or air pockets.
5. Early Finishing
After pouring, follow these steps for a smooth surface:
- Screeding: Use a large metal or wood board to level the top of the concrete.
- Floating: Use a float to smooth out any imperfections.
- Edging: Create clean edges along the concrete.
Details about concrete finishing
Let’s dive deeper into the concrete finishing process. Proper finishing techniques are essential to create a smooth, durable surface. Here are the steps involved in finishing concrete:
Spread the Concrete:
Use a square shovel or a come-along tool to push and pull the wet concrete into place.
Ensure even distribution across the entire area.
Screed the Concrete:
During this step, remove excess concrete and bring the surface to the proper grade.
Use a straight board or a special tool called a screed to achieve a level surface.
Float the Surface:
Use a darby or bull float to:
Level ridges and fill voids.
Slightly embed the aggregate (small stones) into the concrete.
Allow the bleed water (excess water rising to the surface) to disappear.
Edge the Slab:
Once the bleed water is gone, create neat rounded edges along the perimeter of the slab using an edger.
This step gives the concrete a finished appearance and prevents chipping at the edges.
Groove in Joints:
To prevent unwanted cracks, joint the slab with a grooving tool.
Cutting grooves at intervals helps control where cracks may occur in the future.
Trowel the Surface:
If you want a smooth, hard, dense surface, use a steel trowel or fresno for this step.
Skip troweling if you plan to broom finish your concrete or add a decorative finish.
Remember that timing is crucial during concrete finishing. Pay close attention to the condition of the concrete, and follow these steps to achieve the best results.


